CUE Craft Corner - June 2026
CUE's Craft Corner
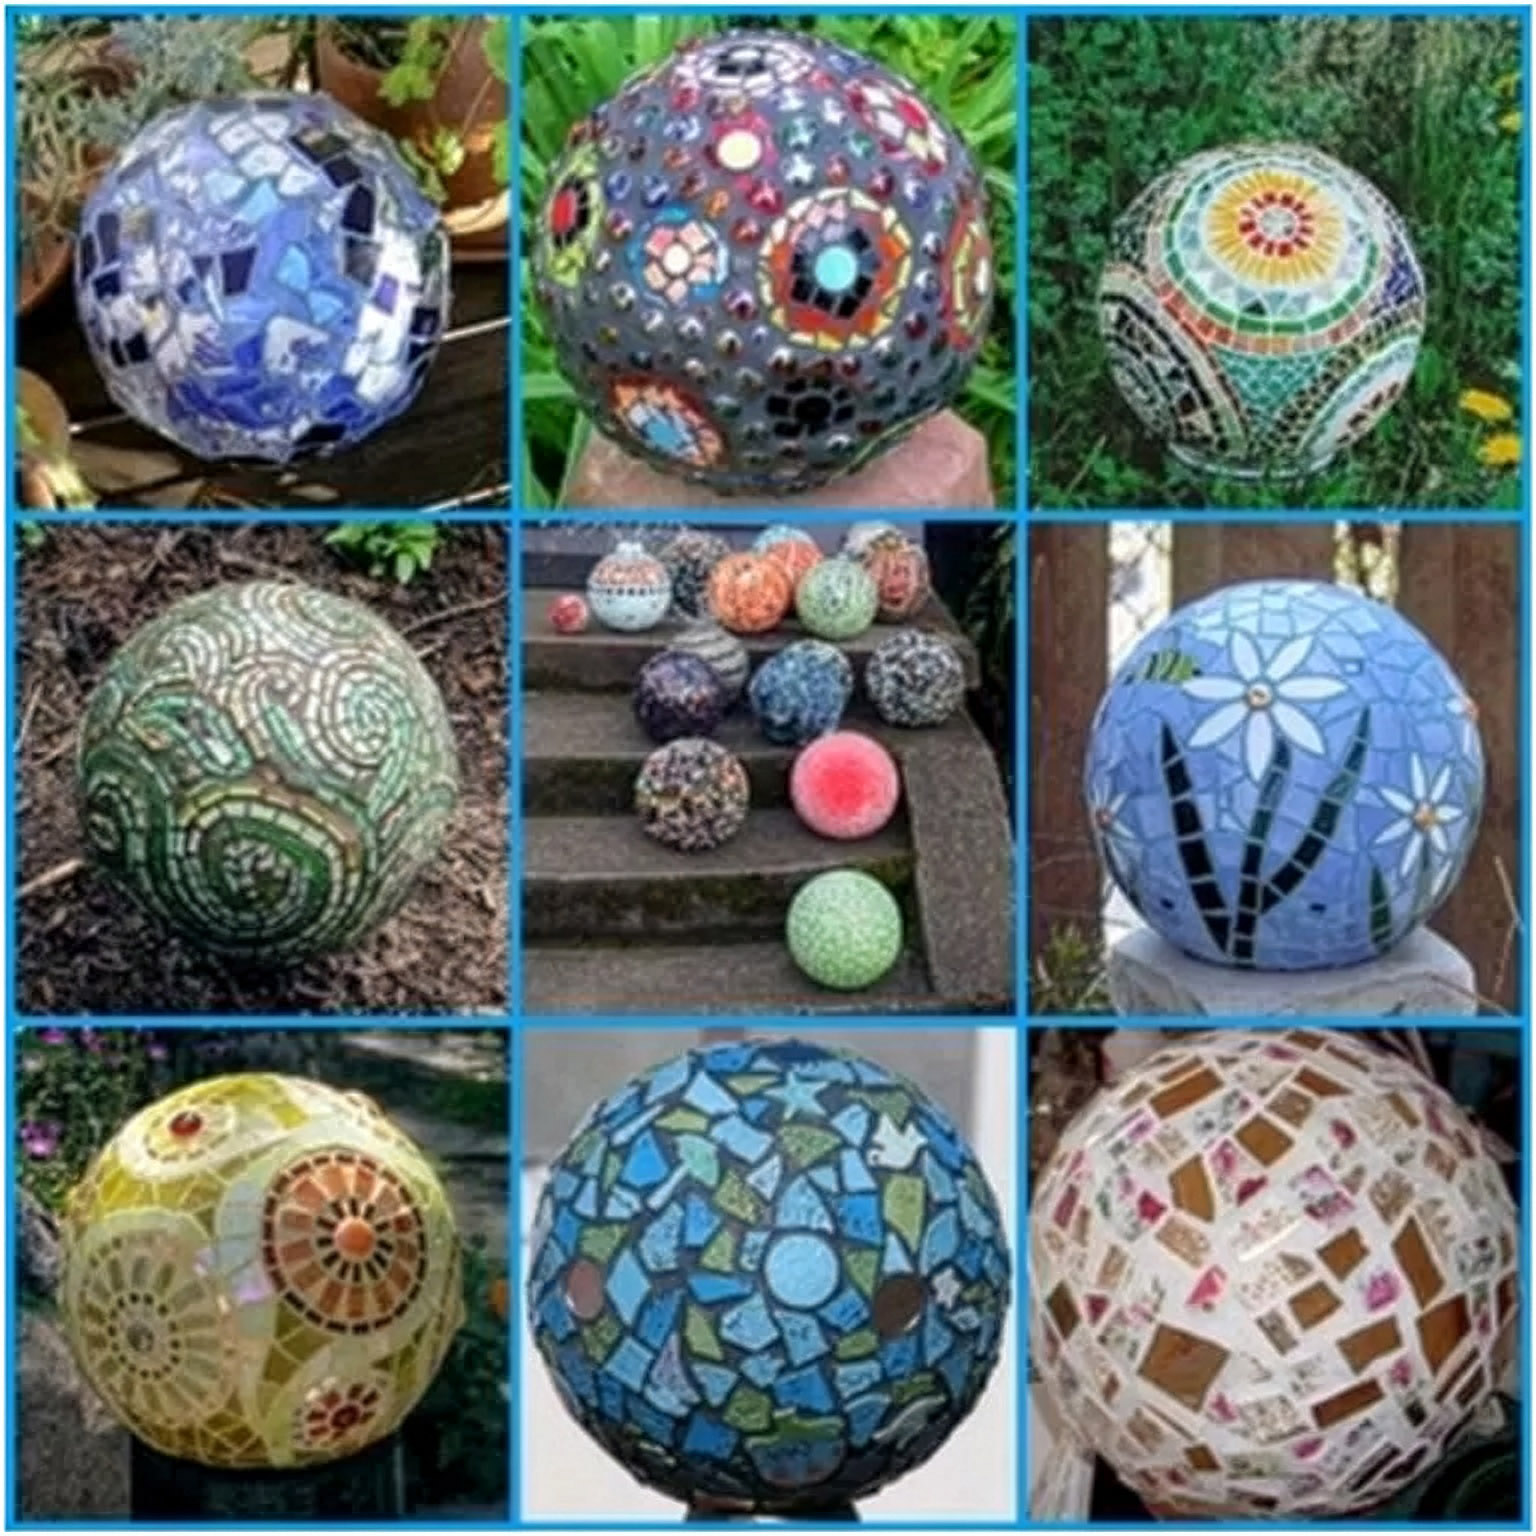
DIY Marble Garden Gazing Ball Craft 🌎✨
Supplies Needed
A foam ball, bowling ball, old globe, or sturdy plastic ball
Flat glass marbles, decorative gems, or small mosaic pieces
Strong outdoor adhesive:
E6000
Gorilla Glue
Weldbond
Outdoor tile adhesive
Grout (optional for mosaic look)
Disposable gloves
Small spatula or popsicle stick
Paper towels
Bowl of water
Outdoor spray sealer (optional)
A stand, flower pot ring, or bowl for drying/display
Step-by-Step Instructions
Step 1: Prepare Your Ball
Clean the surface of your ball thoroughly so glue sticks properly.
If using a slick surface, lightly sand it for better adhesion.
Wipe away dust and let dry completely.
Step 2: Plan Your Design
Before gluing, decide on your pattern.
Ideas:
Random colorful marbles
Color-themed sections
Swirls or flowers
Mosaic patterns
Ombre color fade
All clear gems for sparkle
Lay out marbles beforehand if desired.
Step 3: Start Gluing Marbles
Work in small sections.
Apply a small amount of glue to the ball.
Press marbles or gems firmly into place.
Hold for a few seconds.
Continue around the ball.
Tips:
Leave tiny spaces for grout if using mosaic style.
Mix marble sizes for texture.
Rotate the ball as you work.
Step 4: Let Dry
Place the ball on a stand or bowl so it does not roll.
Allow glue to dry: Usually 24 hours minimum
Follow adhesive directions
Step 5: Add Grout (Optional)
For mosaic styles like the bottom-right photo:
Mix grout according to package directions.
Spread grout over the entire ball using gloves or spatula.
Push grout into spaces between marbles.
Wipe excess off marbles with a damp sponge.
Let grout dry completely.
Step 6: Polish & Clean
Buff marbles with a soft cloth after grout haze dries.
This makes colors shine beautifully.
Step 7: Seal the Ball (Optional)
Spray with an outdoor sealer to protect from weather.
Especially helpful for:
Rainy climates
Winter weather
Long-term outdoor use
